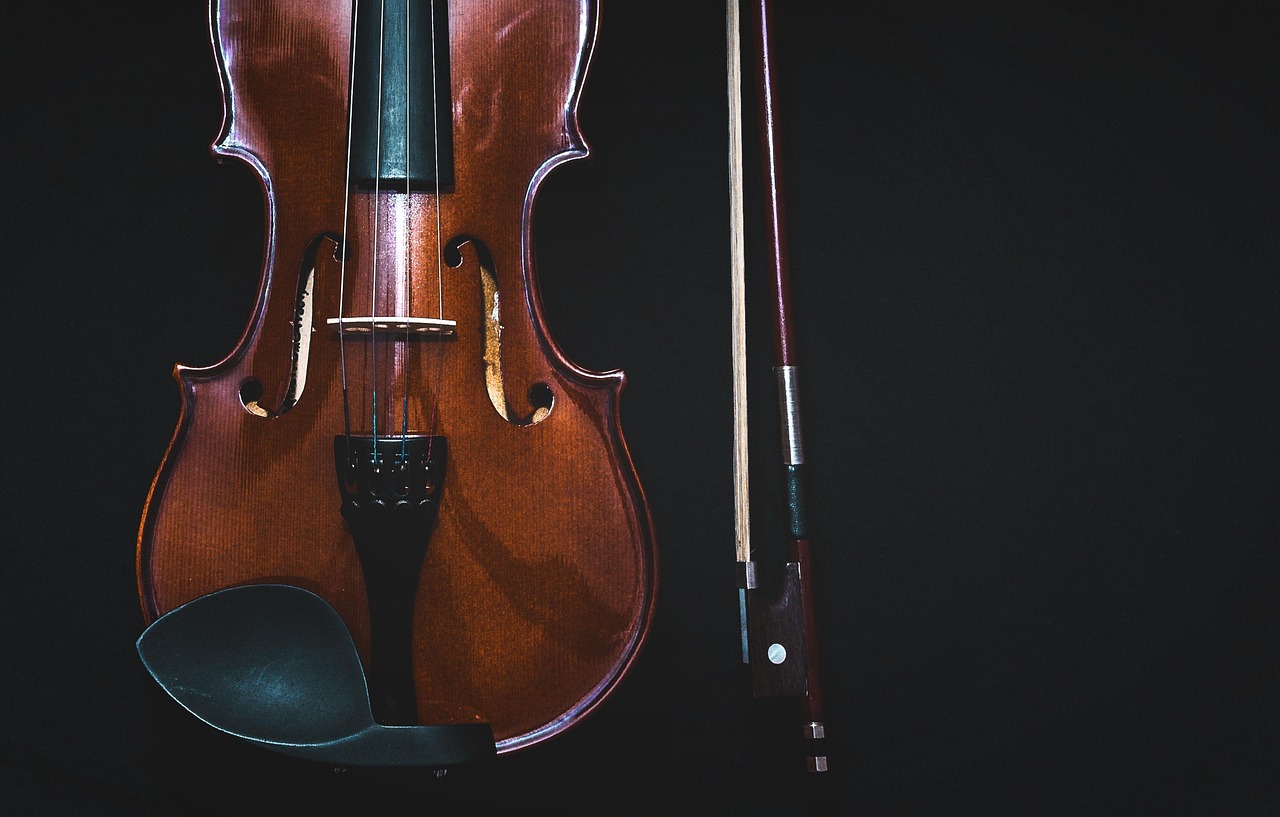
The correct way to hold a violin bow centers on establishing a balanced, flexible grip that utilizes natural arm weight rather than muscular tension. Beginners and amateur orchestral musicians often struggle with stiffness, but positioning the hand correctly at the frog allows for optimal sound production and effortless string crossings across the instrument.
Achieving this technique requires specific finger placement, a curved thumb, and a relaxed wrist that moves fluidly with every stroke. By understanding the mechanical interaction between your hand and the stick, you can build a reliable foundation for both delicate string passages and robust orchestral playing without incurring repetitive strain injuries.
Fundamentals of Bow Hold Mechanics
The Role of Natural Gravity
Effective bow control relies heavily on gravity rather than downward finger pressure. When you hold the bow correctly, the weight of the stick transfers naturally into the string.
Amateurs often press down with their fingers, which chokes the vibration of the instrument. Learning to let the arm weight rest naturally on the string creates a resonant, open tone.
Understanding the Balance Point
The bow is engineered with a specific balance point located a few inches above the frog. Recognizing this physics principle helps you understand how the bow behaves during different strokes.
When playing near the tip, you must compensate for distance by applying gentle pressure with the index finger. Near the frog, the pinky provides counterbalancing support to offset the weight of the frog.
Maintaining Joint Flexibility
Every joint in the right hand and arm must remain flexible to absorb shifts in motion. Locked fingers restrict the natural articulation required for expressive orchestral playing.
Practice moving your fingers slightly while holding the bow in the air. This exercise ensures that your knuckles remain supple and ready to adapt to sudden dynamic changes.
While posture specifics vary across the string family, learning the basics of holding a cello bow helps clarify overall arm weight distribution.
For closely related guidance, see proper way to hold violin.
Right-Hand Finger Placement and Balance
Positioning the Curved Thumb
The thumb acts as the primary fulcrum of the bow hold. It should be slightly bent, making contact with the stick near the corner of the frog and the grip.
A rigid or locked thumb prevents the hand from adjusting to different parts of the bow. Keep the thumb loose and flexible to absorb the natural micro-movements of bowing.
Placing the Middle and Ring Fingers
The middle and ring fingers drape over the stick, with the first joints falling naturally over the side. These fingers help guide the bow parallel to the bridge.
Their placement directly opposes the thumb, creating a secure yet gentle ring of support. Ensure they do not slide too far down onto the hair of the bow.
The Stabilizing Index Finger
The index finger rests on the stick around the second joint, applying the necessary weight for articulation. It controls the transfer of power during accented notes.
Avoid pressing too hard with the index finger. Instead, let its weight rest naturally against the stick to maintain consistent contact with the string during down-bows.
The Role of the Pinky Finger
The pinky finger rests on top of the stick, slightly curved, and acts as a counterweight. It is essential when playing near the tip of the bow.
By lifting or pressing with the pinky, you can effortlessly balance the entire length of the stick. Amateurs frequently lift the pinky entirely, leading to instability.
Exploring alternative techniques like the underhand cello bow hold provides interesting context regarding finger placement and pressure.
Common Bow Hold Adjustments and Tension Relief
Identifying Excessive Finger Pressure
Excessive tension in the right hand is the most common hurdle for amateur string players. It often manifests as white knuckles and a tight, aching forearm after short rehearsals.
Periodically check your grip during practice sessions. If your fingers feel stuck to the wood, stop playing, shake out your hand, and reset your fingers back to their relaxed curves.
Correcting Rigid Wrist Movements
A stiff wrist restricts fluid bow changes and creates harsh accents at the frog and tip. The wrist must remain flexible to accommodate the natural arc of the bow.
Incorporate slow open-string practice in front of a mirror to monitor your wrist angle. It should gently rise and fall as you move from the frog to the tip.
Relieving Thumb Joint Lock
When players encounter difficult technical passages, the thumb frequently locks in a straight or inward-collapsing position. This halts circulation and causes cramping.
Focus on keeping the thumb tip flexible. If it locks, practice holding the bow with only the thumb and middle finger to isolate and correct the tension habit.
Incorporating Regular Rest Breaks
Even with a correct bow hold, sustaining a static posture during long orchestral rehearsals can fatigue small muscles. Regular breaks are essential for physical longevity.
Use multi-bar rests to lower your bow, relax your right arm, and stretch your fingers. When exploring [INTERNAL_LINK: orchestral-string-posture | maintaining proper orchestral seating posture], physical stamina directly supports consistent bow technique.
Transferring Bow Technique to Orchestral Playing
Managing Different Bow Speeds
Orchestral music demands a wide variety of bow speeds to match dynamic indications. Fast bow speeds create loud, resonant tones, while slow speeds support quiet passages.
Practice varying your bow speed without changing the pressure of your index finger. This independence is critical for maintaining tone quality across different musical sections.
Adapting to Section Dynamics
Playing in an amateur orchestra requires blending your sound with surrounding string players. This means matching their bow distribution and articulation choices.
Watch the principal player’s bow arm for visual cues regarding up-bow and down-bow allocations. Uniformity in bowing helps the entire section achieve a cohesive, unified sound.
Executing Smooth String Crossings
Moving fluidly between strings requires subtle adjustments in the level of the entire arm, not just the wrist or fingers. Awkward crossings create unwanted noise.
Practice two-string arpeggios slowly, ensuring your elbow acts as the hinge that navigates the different planes. Smooth crossings prevent sudden breaks in the musical line.
Matching Articulation with Section Mates
Articulations such as spiccato, detaché, and legato require specific bow placements near the frog, middle, or tip. Coordination within the section is paramount.
Listen closely to your neighbors to ensure your attacks and releases match their timing. A unified approach to articulation elevates the overall performance of the ensemble.
Score Reading and Orchestral Listening for String Players
Following the Conductor’s Cue
String players must balance looking at their music, watching their bow placement, and observing the conductor. Peripheral vision plays a vital role in this coordination.
Practice glancing up at the conductor on important downbeats and phrase changes. Anticipating the beat helps your entire section synchronize bow preparations effectively.
Listening Across the Section
Orchestral listening extends beyond your own instrument to include everyone in your immediate string section. Tuning and intonation require constant acoustic adjustment.
Listen for the blend of timbre within your section. If your sound sticks out unfavorably, adjust your bow speed or contact point to match the collective texture.
Identifying Counterpoint in the Score
Understanding how your part fits into the broader orchestral texture enhances your musical interpretation. Recognizing secondary melodic lines guides your dynamic choices.
Study the full score or reduced piano score when preparing orchestral works. Knowing what the woodwinds or brass are playing helps you balance your own volume accordingly.
Blending Tone with Woodwinds
Strings frequently double or accompany woodwind melodies in orchestral literature. Blending your tone requires an awareness of wind instrument timbre and phrasing.
Soften your bow attack when supporting a delicate flute or oboe solo. This collaborative listening ensures the primary voice remains clear and expressive throughout the passage.
Frequently Asked Questions
What is the correct finger shape for the right hand on a violin bow?
The right hand should maintain a relaxed, curved shape resembling holding a small ball or fruit. The thumb is slightly bent at the knuckle, the middle and ring fingers drape naturally over the frog, the index finger rests lightly near its second joint, and the pinky sits on top of the stick with a rounded posture to provide necessary balance during different strokes.
How much pressure should the index finger apply to the bow?
The index finger should apply only minimal, responsive pressure primarily when extra weight is needed for loud dynamics or strong articulation accents. For standard playing, the natural weight of the arm and bow is sufficient to produce a clear, resonant tone without forcing the instrument or restricting the natural vibration of the strings across the bridge.
Why does my right thumb lock or ache during long practice sessions?
A locking or aching thumb usually results from squeezing the stick too tightly or straightening the joint under pressure. To correct this, focus on maintaining a flexible, outward-curved thumb joint that acts as a gentle fulcrum, and take frequent breaks during rehearsals to shake out tension and reset your hand position completely.
How does bow speed affect the tone quality of a string instrument?
Bow speed determines the velocity at which the hair travels across the string, directly influencing volume and timbre. Fast bow speeds create louder, more resonant sounds suitable for forte passages, while slower speeds produce quieter dynamics, requiring an adjustment in finger pressure and placement to maintain a clean, sustained tone throughout the stroke.
Should amateur orchestral players always match the principal bowings?
Yes, amateur orchestral players should generally match the bowings marked by the principal string player or conductor. Uniform bowings ensure that the entire section executes down-bows and up-bows simultaneously, which creates visual cohesion, uniform phrasing, and consistent dynamic accents across the entire orchestral section during performances.
How can I improve my string crossings without creating scratching noises?
Smooth string crossings require leading the movement from the elbow level rather than relying solely on the wrist or fingers. By visualizing an inclined plane for each adjacent string and practicing slow, connected arpeggios, you can transition seamlessly between strings while maintaining consistent bow speed and avoiding unwanted scratching or tonal breaks.