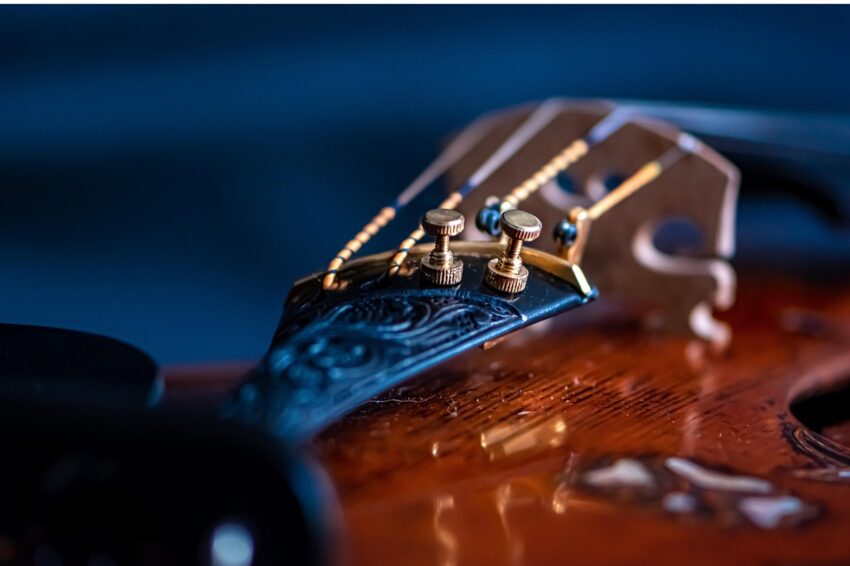
Putting a bridge on a violin requires careful alignment, understanding of instrument geometry, and a methodical approach to string tension. The bridge is not glued to the instrument; it is held strictly in place by the downward pressure of the strings, transmitting string vibrations directly to the belly and soundpost.
For amateur orchestral musicians and string players, mastering basic setup tasks like bridge alignment prevents structural damage and ensures optimal acoustic projection. This guide outlines the precise mechanics, alignment markers, and safety checks required to position or adjust a violin bridge correctly.

Fundamentals of Violin Bridge Placement and Anatomy
The Acoustic Role of the Bridge
The violin bridge functions as a vital mechanical transducer, transferring vibrational energy generated by the bow and strings directly into the hollow wooden body of the instrument. Without this precise wooden intermediary, string vibrations would fail to excite the top plate and air cavity efficiently.
Every carve, curve, and thickness dimension on the bridge is meticulously designed to filter specific frequencies and enhance harmonic resonance. Understanding this core acoustic role helps amateur musicians appreciate why even minor shifts in bridge position drastically impact projection, tone warmth, and overall instrument playability during ensemble rehearsals.
Recognizing the Front and Back Faces
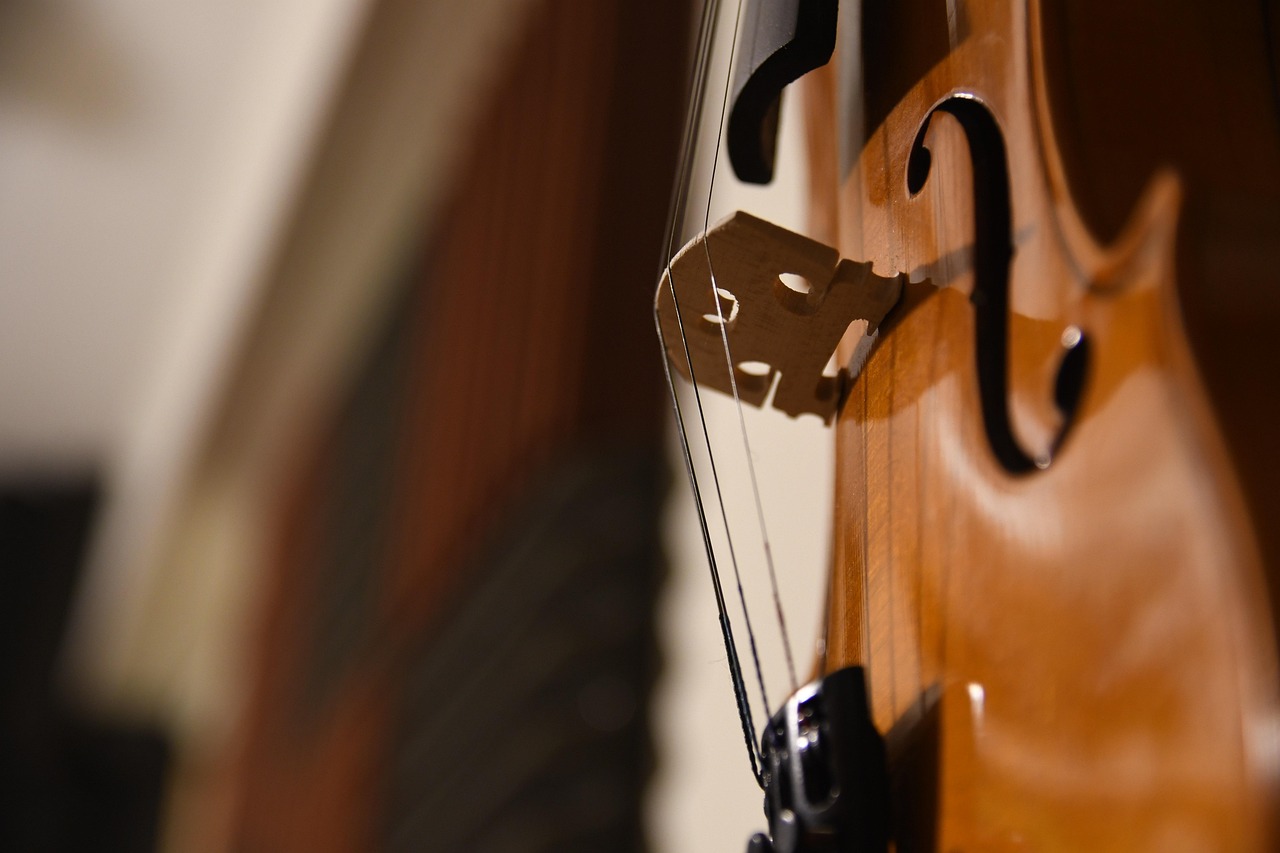
A properly carved violin bridge features two distinct architectural sides that must never be reversed during installation. The side facing the tailpiece is flatter, while the side facing the fingerboard has a more pronounced slope toward the tail.
Installing a bridge backward places uneven stress on the wood fibers and disrupts the natural intonation geometry of the fingerboard. Always verify this orientation carefully before applying full string tension, ensuring the flatter face looks directly toward the tailpiece and fine tuners.
Identifying the Key Alignment Markers
The factory-set acoustic center of any standard violin top plate is clearly indicated by the inner notches cut into the instrument’s F-holes. The bridge must be positioned so that its feet align precisely with the center point of these crucial reference notches across both sides.
Lateral alignment is equally important to prevent string crowding. The bridge must center the G and E strings equidistant from the edges of the fingerboard, ensuring the player can bow individual strings cleanly without accidentally clipping adjacent strings during complex orchestral passages.
For closely related guidance, see pegs on a violin.
Step-by-Step Guide to Positioning a Violin Bridge
Relieving String Tension Safely
Never attempt to position or straighten a violin bridge while the strings are tuned to standard concert pitch. The immense downward pressure creates severe friction against the maple top, risking wood splintering, varnish scratches, or a sudden collapse of the internal soundpost.
Gently lower the tension of all four tuning pegs in an even sequence until the strings are loose enough to lift slightly off the wood by hand. Ensure the strings remain safely seated within their pegbox wraps to prevent complete unwinding during the adjustment process.
Aligning the Feet with the F-Holes
Slide the loosened bridge carefully into the open space between the end of the fingerboard and the tailpiece. Align both feet precisely with the imaginary straight line connecting the inner notches of the instrument’s symmetrical F-holes.
Inspect the contact points where the wooden feet meet the arched spruce belly. Both feet must rest completely flush against the wood surface without any visible gaps beneath the edges, which would otherwise hinder efficient acoustic vibration transfer.
Checking Perpendicular Angles
Step back and view the installed bridge from the side profile of the violin scroll. The side facing the tailpiece must form an exact ninety-degree right angle with the horizontal plane of the instrument’s varnished top plate.
If the bridge leans forward toward the fingerboard, use your thumbs to gently nudge the top edge backward while supporting the base firmly with your index fingers to prevent tipping or sliding across the polished wood surface.
Gradual Tension Restoration
Restore string tension slowly and incrementally, beginning with the outer G and E strings to maintain balanced lateral pressure on the bridge structure. Alternating between strings prevents the bridge from being dragged sideways during the tightening phase.
Monitor the perpendicular angle continuously as pitch increases. Strings naturally pull the top of the bridge forward as tension builds, requiring minor manual adjustments until the instrument reaches full standard concert pitch.
For closely related guidance, see parts of a violin bridge.
String Tension, Adjustments, and Post-Placement Checks
Managing Lateral String Spacing
The four strings must rest securely inside the shallow, evenly spaced grooves carved across the top crown of the bridge. Proper spacing ensures consistent fingerboard clearance and allows for accurate bowing across individual strings during complex orchestral movements.
If a string slips out of its designated slot during tuning, immediately relieve tension and reposition it carefully. Applying a soft pencil lead to the notch provides helpful lubrication to reduce friction and prevent future string binding.
Monitoring String Height and Action
Once the bridge is securely positioned and tuned, check the clearance height of the strings above the fingerboard near the bridge body. Excessive string height requires excessive finger pressure, leading to hand fatigue during long symphonic rehearsals.
Standard action clearance must allow comfortable stopping without causing annoying buzzes against the wood. Amateur orchestral players benefit from monitoring this height regularly, especially during seasonal humidity shifts that alter wood expansion.
Inspecting the Soundpost Stability
The internal soundpost inside a violin relies completely on the balanced downward pressure exerted by the bridge and strings. A fallen soundpost represents an urgent structural emergency that requires immediate release of all string tension.
Never attempt to insert or adjust a fallen soundpost using improvised household tools, as applying incorrect pressure can easily crack the fragile spruce top plate, requiring expensive professional restoration by a trained luthier.
Common Alignment Errors and Risk Mitigation
Preventing Bridge Warping Over Time
Bridges naturally warp toward the fingerboard over months of playing due to the continuous frictional pull of string tension during tuning routines. Inspect your bridge profile monthly to catch leaning before permanent wood deformation sets in.
Straightening a slightly leaning bridge preserves the structural integrity of the maple and prevents sudden catastrophic collapse during intensive orchestral practice sessions or live performances.
Addressing Uneven Foot Contact
If daylight is visible underneath either foot of the bridge, vibrational energy transmission is severely compromised. Never force unevenly fitted feet flat against an arched top plate using excessive string pressure.
Consult a professional repair technician to refit the feet if the instrument’s top plate contours no longer match the underside of the bridge base due to wood settling or previous damage.
Avoiding Sudden String Breakage
Rapid tuning adjustments during bridge installation frequently cause high-tension strings to snap unexpectedly. Turn tuning pegs slowly and utilize fine tuners for precise pitch modifications near standard concert pitch.
Always keep spare sets of strings in your instrument case to prevent sudden performance disruptions during ensemble rehearsals or public concerts.

Orchestra Integration: String Section Mechanics and Tuning
Achieving Sectional Intonation Uniformity
Amateur orchestral musicians must maintain stable equipment to blend effectively within a violin section. A properly seated bridge ensures consistent response across all registers during tutti playing.
Minor bridge shifts during transport can cause unexpected tuning instability, affecting the entire string section’s ability to match pitch during orchestral tutti passages.
Projecting Sound in Ensemble Settings
Acoustic projection depends heavily on unobstructed vibrational energy transfer through the bridge and soundpost. Correct alignment maximizes tone clarity without requiring excessive bowing force.
Players sitting deep within large amateur orchestras rely on this acoustic efficiency to hear neighboring instruments and maintain rhythmic cohesion.
Maintenance Habits for Traveling Musicians
Frequent temperature and humidity shifts during transit alter wood dimensions and string tension. Check bridge alignment before every rehearsal to catch subtle shifts early.
Developing a pre-rehearsal equipment check routine protects your violin and builds confidence for complex symphonic performances.
Proper setup directly impacts ensemble performance, which is especially critical when you perform as the first violin in the orchestra.
Frequently Asked Questions
Can I glue my violin bridge down if it keeps falling?
No, you should never glue a violin bridge to the instrument. The bridge must remain held in place exclusively by the downward pressure of the strings. Gluing it would severely dampen acoustic vibrations, alter the natural resonance of the instrument, and make routine maintenance or professional repairs impossible.
How often should I check my violin bridge alignment?
You should visually inspect your violin bridge alignment every time you tune the instrument or pack it into its case. Temperature fluctuations, humidity changes, and regular string tuning naturally pull the bridge forward over time. Catching a lean early prevents warping and protects against sudden collapse during practice.
What should I do if my violin bridge falls down completely?
If your bridge falls, immediately loosen all four tuning pegs to relieve tension. Check if the soundpost inside the instrument is still standing upright. If the soundpost has fallen, do not tighten the strings or play the instrument; take it to a qualified luthier to safely reset the internal post.
Is it normal for the bridge to lean slightly toward the fingerboard?
While slight leaning happens naturally due to string friction during tuning, a pronounced lean is dangerous. The tailpiece side of the bridge must remain perpendicular to the belly of the violin. If you notice a visible tilt, gently straighten the bridge back into its upright position while strings are slightly detuned.
Can I carve or shape a violin bridge myself?
Shaping a raw violin bridge requires specialized luthier knives, files, and precise knowledge of string height tolerances. Amateur players should avoid modifying bridge wood unless trained. Incorrect cutting can ruin string action, affect intonation, or cause buzzing, making professional setup by an experienced technician the safest and most reliable choice.
Why do the F-holes matter when positioning a bridge?
The inner notches cut into the F-holes mark the designated acoustic center of the violin top plate. Placing the bridge feet precisely aligned with these notches ensures that the string length is correct and that the vibrational energy transfers to the most flexible and resonant area of the belly.